
The question that sends people to a microscopy facility is usually phrased as how small can you see. It is the wrong first question. The more useful one is what are you willing to do to the specimen, because the resolution you gain from an electron microscope is bought with a preparation procedure that no living thing survives.
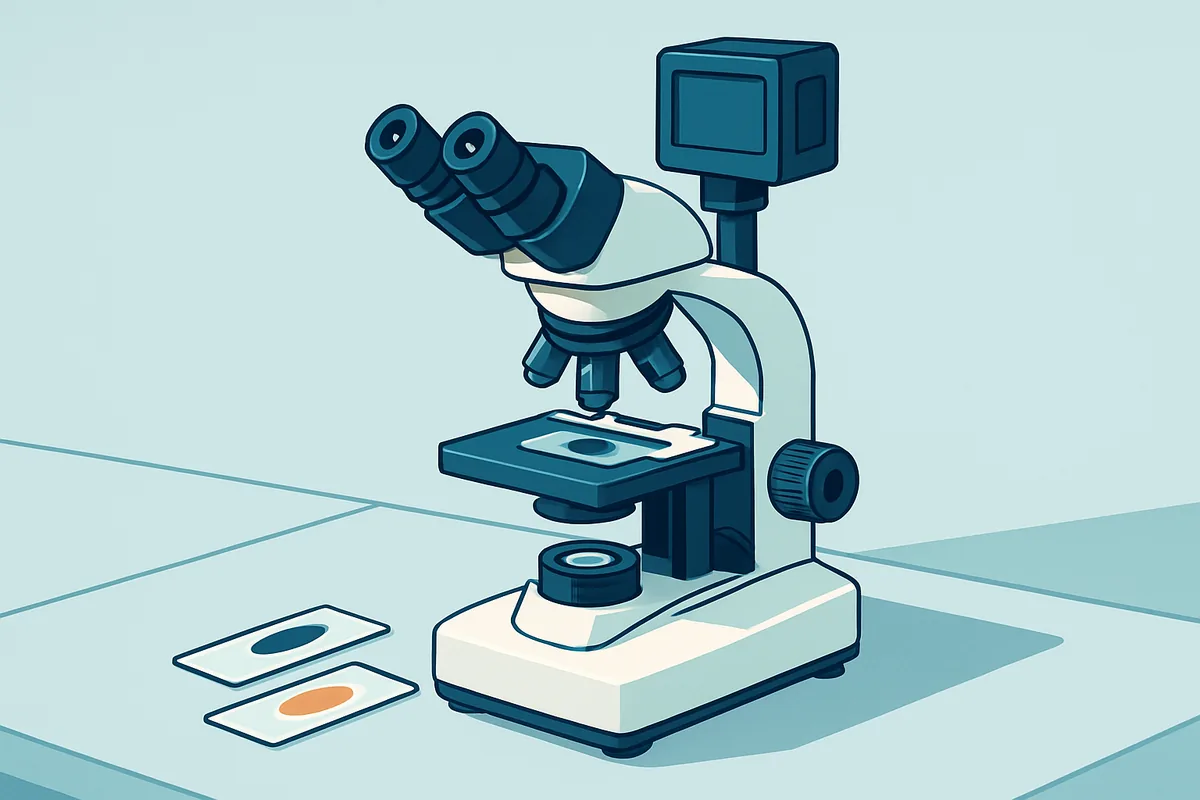
The two families of instrument are not competitors on a single scale. A light microscope forms an image using visible light and lenses made of glass, and it can do so through water, through plastic and through a living cell going about its business. An electron microscope forms an image with a beam of electrons steered by magnetic fields, in a vacuum, on a specimen that has been chemically fixed, dehydrated and often coated in metal.
The practical decision is therefore between watching something happen at moderate detail and examining structure at extraordinary detail in something that has stopped happening. This piece sets out where the boundary sits, why it sits there, and how recent techniques have pushed it without abolishing it.
Key takeaways
- Resolution in any optical system is limited by the wavelength of the illumination, which is why visible light cannot separate very small structures.
- Electrons behave as waves with a far shorter wavelength, giving electron microscopes their resolution advantage.
- Electron imaging requires vacuum, fixation and dehydration, so it images preserved structure rather than living processes.
- Transmission imaging shows internal structure in ultrathin sections; scanning imaging shows surface topography.
- Fluorescence and super-resolution methods let light microscopy specify molecular identity and beat the classical limit, though not without cost.
The Diffraction Limit of Visible Light
A microscope does not simply magnify. Magnification enlarges an image; resolution determines whether two nearby points appear as two things or one. Beyond a certain point, adding magnification produces a bigger blur rather than more information, a state usually called empty magnification.
The reason lies in the wave nature of light. When light passes through an aperture, and every lens is an aperture, it spreads out and interferes with itself. A single point in the specimen is therefore never imaged as a point but as a small disc surrounded by faint rings. Two points close together produce two overlapping discs, and once the overlap is sufficient, no optical improvement will separate them.
The size of that disc scales with the wavelength of the light and inversely with the light-gathering ability of the lens, a quantity called numerical aperture. Numerical aperture can be increased by using a lens with a wider acceptance angle and by filling the space between lens and specimen with a medium that bends light more strongly than air, which is exactly what immersion oil does. But numerical aperture has a practical ceiling set by the refractive index of available media, so the wavelength becomes the binding constraint.
Visible light occupies a band of wavelengths in the hundreds of nanometres. The resulting limit means that structures separated by less than roughly half the wavelength of the illuminating light cannot be distinguished. Bacteria are comfortably visible. Individual organelles are visible as shapes. Ribosomes, membrane bilayers, virus particles and protein complexes are not, and no amount of better glass will change that.
Shortening the wavelength helps a little, which is why ultraviolet microscopy exists, but ultraviolet light damages specimens and requires quartz optics, so the gains are modest.
How Electrons Achieve Finer Resolution
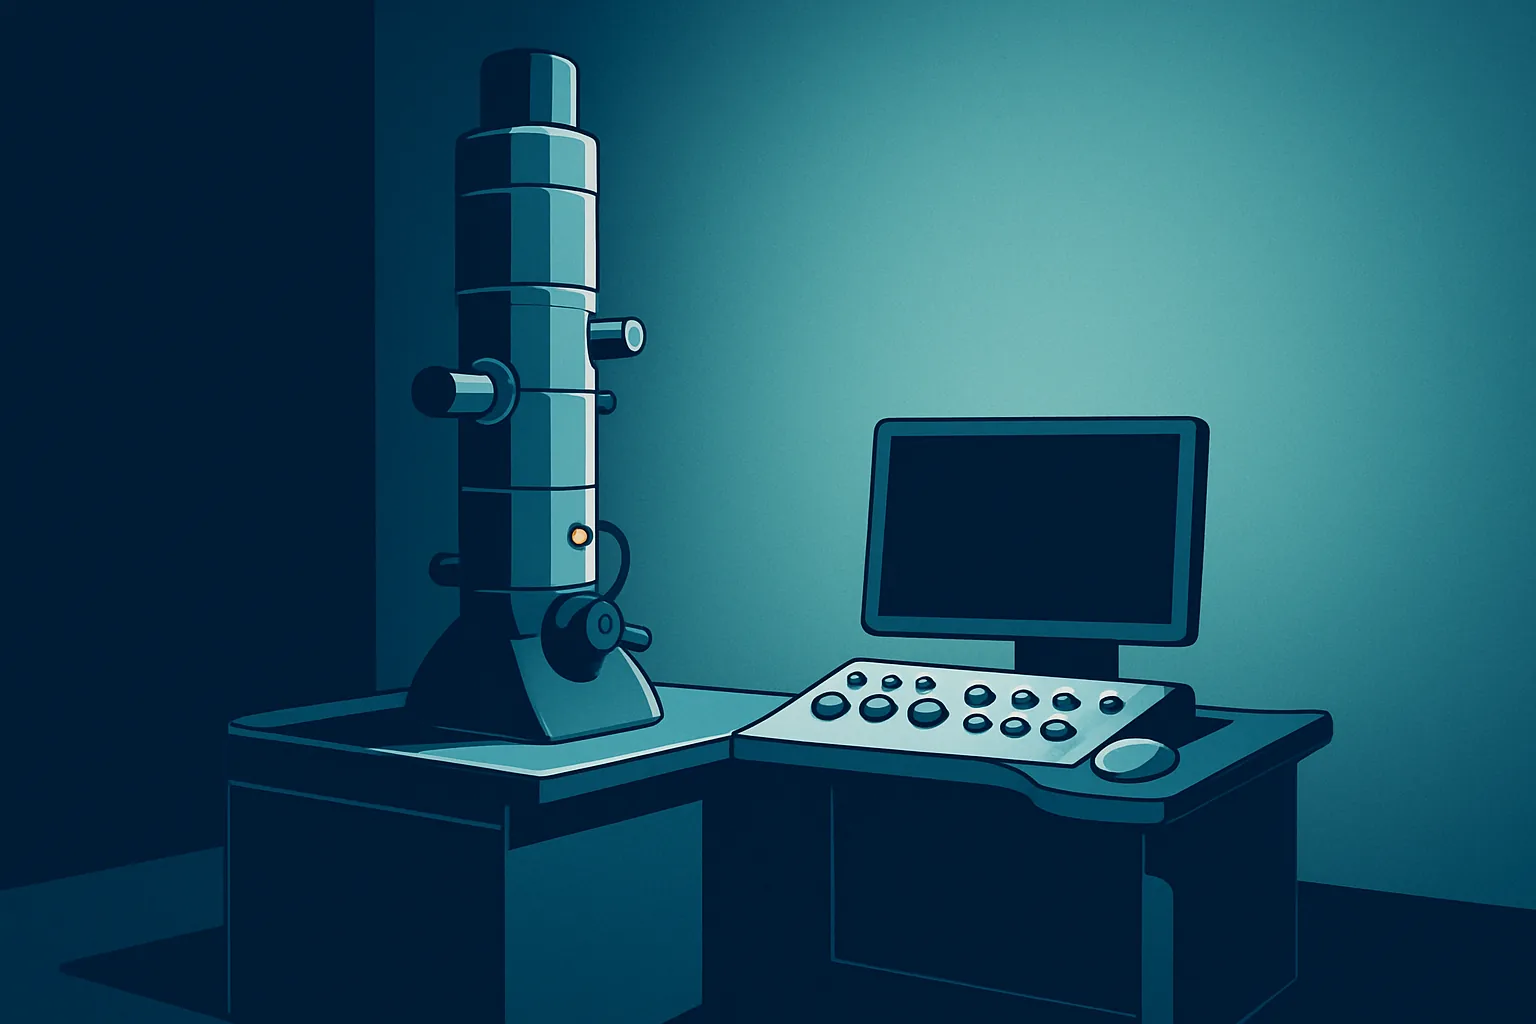
The insight behind electron microscopy is that particles have wave properties, and the wavelength associated with a particle shortens as its momentum increases. Accelerating an electron through a large voltage gives it substantial momentum and a wavelength thousands of times shorter than visible light.
If the diffraction limit scales with wavelength, then illuminating with something of much shorter wavelength should improve resolution by a correspondingly large factor. In principle the improvement is enormous. In practice electron microscopes fall well short of what their wavelength alone would permit, because the lenses are the problem.
Electrons cannot be focused by glass. They are steered by magnetic fields shaped by carefully wound coils, and these magnetic lenses suffer from aberrations that are far more severe than those of good glass optics and much harder to correct. The usable aperture is consequently small, which throws away much of the theoretical advantage. Even so, the resolution achieved is orders of magnitude better than light, sufficient to visualise individual macromolecules and, in favourable materials, individual columns of atoms.
The vacuum requirement follows directly from using electrons. Electrons scatter off gas molecules within a very short distance, so the entire beam path must be evacuated. That single engineering necessity is the origin of nearly every limitation discussed in the rest of this article, because a specimen containing water cannot be placed in a vacuum without the water boiling away and the structure collapsing.
Charging is a second consequence. Electrons deposited in an insulating specimen accumulate and deflect the beam, distorting the image, which is why biological samples are routinely coated with a thin conductive metal layer.
Transmission Versus Scanning Approaches
Two fundamentally different geometries dominate, and they answer different questions.
A transmission electron microscope passes the beam through the specimen and forms an image from the electrons that emerge. Regions of the specimen that scatter electrons strongly appear dark; regions that scatter weakly appear bright. Because electrons are absorbed and scattered readily, the specimen must be extraordinarily thin, typically far thinner than a single cell, which means the sample must be embedded in hard resin and cut into ultrathin sections with a diamond knife. The result is a two-dimensional slice showing internal structure at very high resolution.
A scanning electron microscope takes the opposite approach. A finely focused beam is swept across the specimen surface point by point, and detectors collect the low-energy secondary electrons knocked out of the surface at each position. The image is built up sequentially, and because the signal comes from the surface, it shows topography with a striking depth of field that gives the characteristic three-dimensional appearance.
| Aspect | Light microscope | Transmission electron | Scanning electron |
|---|---|---|---|
| Illumination | Visible light | Electron beam through specimen | Scanned electron beam on surface |
| What it shows | Stained or labelled structures in context | Internal ultrastructure in a thin slice | Surface topography |
| Specimen state | Can be living and hydrated | Fixed, dehydrated, resin-embedded, sectioned | Fixed, dried, usually metal-coated |
| Typical thickness | Whole cells and tissue slices | Ultrathin sections only | Any, surface only |
| Colour information | Yes, through stains and fluorophores | None; contrast is from electron scattering | None; contrast is from surface and composition |
| Molecular identity | Achievable through specific labels | Requires added heavy-metal labelling | Limited, via elemental analysis |
Neither electron approach produces colour. Everything presented as a colourised electron micrograph has had colour applied afterwards for clarity or presentation, a fact worth remembering when such images appear in coverage of scientific results.
Both can be extended. An elemental analysis detector on a scanning instrument identifies which elements are present at each point, invaluable in materials work and in tracing mineral deposits in tissue. Tilting a transmission specimen through a series of angles and reconstructing computationally produces a three-dimensional volume.
Sample Preparation and Its Artefacts
Preparation is where most electron microscopy goes wrong, and where an inexperienced reader of images is most likely to be misled. Every step introduces the possibility of changing the thing being examined.
Chemical fixation cross-links proteins to lock structure in place. It takes time to penetrate tissue, and meanwhile the cells at the centre continue reacting to the injury of being fixed, so the interior of a block can differ from its edge. Fixatives also extract lipids unless further steps are taken.
Dehydration replaces water with a solvent, then with resin. Removing water from a structure that is largely water inevitably causes shrinkage, and the extent varies between components, so relative dimensions can shift. Staining with heavy metal salts is necessary because biological material consists of light elements that scatter electrons poorly, and the metals bind preferentially to certain components, meaning contrast reflects staining affinity as much as structure.
Sectioning introduces its own signatures. Compression along the cutting direction, knife marks appearing as fine parallel lines, and folds in the section are all common and recognisable once known. In scanning preparation, drying is the main hazard, since surface tension collapses delicate structures. Critical point drying, which takes the liquid around the specimen through a state where liquid and gas become indistinguishable, avoids crossing a liquid-gas boundary and preserves fine surface detail.
Cryogenic methods represent the most significant response to all of this. Freezing a specimen fast enough that water forms a glass rather than ice crystals preserves structure in a hydrated, near-native state, since ice crystals would otherwise puncture membranes as they grow. Imaging such specimens at very low temperature underlies the approach that has transformed structural biology, allowing molecules to be visualised without crystallising them, at the cost of demanding equipment and severe limits on how much electron dose the specimen can tolerate before it is destroyed.
Living Cells and Why Light Still Wins
For anything that moves, light microscopy is not merely preferable but the only option. A vacuum, a fixative and an electron beam are each independently lethal.
Light microscopy can image cells in culture medium at controlled temperature and gas composition for hours or days, capturing division, migration, membrane traffic and responses to added compounds. Techniques that generate contrast from differences in refractive index, notably phase contrast and differential interference contrast, do so without any stain at all, meaning nothing is added to the specimen.
Time is the dimension electron microscopy cannot access. Every micrograph is a single instant of a killed specimen, and any sequence of events must be inferred by preparing many specimens at different time points and assuming they represent stages of one process. That inference is often reasonable and occasionally wrong.
Light microscopy is also incomparably more accessible. Instruments sit on ordinary benches, need no vacuum infrastructure, and can be operated after modest training. When a question can be answered at light resolution, answering it there is faster and less likely to introduce artefacts.
Photodamage is the real constraint on live imaging. Illumination generates reactive species that damage cells, and fluorescent labels bleach irreversibly under continued exposure. Long time-lapse work is therefore a constant negotiation between signal strength and keeping the specimen alive, and techniques that illuminate only the plane being imaged exist largely to reduce that burden.
Fluorescence and Labelling Strategies
The decisive advantage light microscopy has over electron microscopy is specificity. An electron micrograph shows exquisite structure with no inherent indication of what any of it is made of. A fluorescence image can show a single named protein against a black background.
Fluorescence works because certain molecules absorb light at one wavelength and emit it at a longer one. Filtering out the illuminating light leaves only the emission, so a labelled structure appears bright against darkness, which is why fluorescence detects things far below the resolution limit even though it cannot resolve them. A single small particle carrying enough fluorophores is visible as a spot; it simply cannot be distinguished from a second particle very close to it.
Labels reach their targets by several routes. Antibodies raised against a protein of interest and conjugated to a fluorophore bind specifically, though the cell must usually be permeabilised and fixed first. Genetically encoded fluorescent proteins, fused to a protein of interest and expressed by the cell itself, work in living cells and revolutionised the field. Chemical dyes target particular structures or report on the local environment, including calcium concentration, membrane voltage and acidity.
Multiple labels with distinguishable emission colours can be imaged at once, allowing relative localisation to be assessed. The caveat is that apparent overlap at light resolution does not demonstrate interaction, since two labels can appear coincident while separated by distances that are enormous on a molecular scale.
Correlative approaches attempt to combine the strengths of both worlds by imaging the same specimen first by fluorescence, to identify a rare event or a labelled structure, and then by electron microscopy, to examine that exact location at high resolution. It is technically demanding and increasingly common.
Super-Resolution Techniques That Bend the Limit
The diffraction limit constrains how finely two simultaneously emitting points can be separated. Several strategies exploit loopholes in that statement rather than violating the physics.
One family manipulates the illumination. Projecting a fine striped pattern onto the specimen and combining images taken with the pattern in different positions and orientations produces interference between the pattern and the specimen’s fine detail, encoding information that would otherwise be lost into a form the lens can transmit. Computation then extracts it, roughly doubling resolution.
A second family shrinks the emitting spot. A focused excitation beam is overlaid with a doughnut-shaped depletion beam that switches off fluorescence everywhere except a small central region, so emission comes from an area far smaller than the diffraction limit permits. Scanning that reduced spot builds a sharper image, at the cost of high illumination intensity.
A third family separates emitters in time. If nearly all fluorophores are switched off and only a sparse random subset emits in any given frame, each emitting molecule appears as an isolated blur whose centre can be located far more precisely than its width. Repeating this over many thousands of frames and plotting all the located centres reconstructs an image at resolution approaching molecular scales. The price is time, since a single reconstruction requires a long acquisition, and the requirement that the specimen hold still throughout.
None of these makes electron microscopy redundant. They deliver specific labelled molecules at high resolution, not the full structural context that an electron image provides. A super-resolution image shows where the labelled protein is; an electron micrograph shows the membranes, filaments and compartments around it, labelled or not.
Frequently asked questions
Why can I not just add more magnification to a light microscope?
Because magnification and resolution are independent. Once two points in the specimen produce overlapping blurs at the image plane, enlarging that image enlarges the blurs equally and reveals nothing new. Optical designers describe useful magnification as roughly a few hundred to a thousand times the numerical aperture of the objective; beyond that, the image gets bigger and no more detailed. This is why an objective’s numerical aperture, printed on its barrel, is a better indicator of capability than its magnification figure.
Are electron micrographs really black and white?
Yes. Electrons carry no colour information, and contrast arises from how strongly different regions scatter or emit them. Any colour in a published electron micrograph has been added afterwards, either to distinguish structures identified by the researcher or for visual presentation. This is not deceptive when disclosed, but it does mean colour in such an image reflects interpretation rather than measurement. Elemental mapping can produce genuine compositional colour overlays, which are a different thing and are usually labelled as such.
How do I know whether a structure in an image is real or an artefact?
By reproducibility across preparation methods and by familiarity with the characteristic signatures of each technique. Knife marks, section folds, precipitate from staining solutions, drying collapse and ice crystal damage all have recognisable appearances. The strongest evidence that a structure is genuine is seeing it after preparations that fail in different ways, particularly cryogenic methods that avoid dehydration entirely. A structure visible only after one specific protocol should be treated cautiously until confirmed another way.
Can electron microscopy identify a specific protein?
Only with added labelling. The usual approach attaches antibodies conjugated to dense gold particles of a defined size, which appear as unmistakable dark dots. Different particle sizes allow more than one target in a single image. The limitations are that labelling efficiency is often low, so absence of gold is weak evidence of absence of the protein, and that antibody access into resin-embedded material is restricted. Correlative approaches that locate the protein by fluorescence first are increasingly preferred.
Is a benchtop scanning electron microscope a genuine alternative to a facility instrument?
For many surface imaging tasks, yes. Compact instruments have become considerably more capable and require far less infrastructure, making them practical for quality control, materials inspection and teaching. They typically offer lower ultimate resolution, a smaller range of accelerating voltages, and fewer detector options than a facility instrument, and they are less suited to delicate biological specimens requiring low-voltage or variable-pressure conditions. Matching the specification to the actual question, rather than to the best available number, is the sensible approach.
The choice, in the end, comes back to the question being asked. If it concerns dynamics, or the location of a specific molecule, or anything in a living system, light microscopy is the starting point and often the finishing point. If it concerns the architecture of a structure too small for light to resolve, and a preserved specimen will answer it, electron microscopy earns its considerable overheads.
A surprising number of projects need both, in sequence, and knowing which order to run them in saves more time than any instrument specification. The usual mistake is to reach for the highest available resolution first, then discover that the preparation destroyed the very thing the question was about. Deciding what the specimen must survive is the step that should come before deciding what the instrument must resolve.