

An out-of-tolerance pipette gives no warning. The plunger travel feels normal, the tip seals, the liquid rises and falls, and the number in the display is whatever it was set to. Every visible cue says the instrument is working. Meanwhile the volume actually delivered has drifted, and every result that depended on it has drifted with it.
This is what makes liquid handling different from most sources of laboratory error. A failed reagent usually announces itself. A broken instrument stops. A pipette delivering slightly less than its setting continues indefinitely, producing internally consistent results that are systematically wrong, and the error propagates into standard curves, dilution series, reaction stoichiometry and everything downstream.
The remedy is unglamorous and effective: weigh what the pipette delivers, on a schedule, and write the numbers down. What follows is how the instrument drifts, what a gravimetric check actually measures, and the technique problems that look identical to a calibration fault and are far more common.
Key takeaways
- Air displacement pipettes rely on a sealed air column, so seal wear and piston wear both shift delivered volume.
- Accuracy and precision fail differently and have different causes, so a verification must report both.
- Gravimetric checking weighs delivered water and converts mass to volume using a temperature and pressure correction.
- Calibration intervals should reflect how hard a pipette is worked, not a uniform annual habit.
- Several technique faults, particularly speed, angle and tip prewetting, mimic miscalibration exactly.
How Air Displacement Pipettes Work
The standard adjustable pipette does not touch the liquid it measures. Inside the body, a piston moves in a sealed cylinder, and between that piston and the liquid sits a column of air. Pressing the plunger to the first stop expels a defined volume of air. Releasing it draws the piston back through the same distance, creating a partial vacuum that pulls liquid up into the tip until pressure equalises.
Everything follows from that air column. The volume drawn equals the volume the piston swept, provided the air column is sealed, at a stable temperature, and not doing anything unexpected. When any of those conditions fails, delivery drifts.
Seal integrity is the most common failure. The piston seal and the O-ring wear with every cycle, and they degrade faster when exposed to solvent vapour drawn up the shaft. A worn seal leaks slightly, so the vacuum is incomplete and the aspirated volume falls short. The deficit is usually small, consistent and completely invisible to the user.
Temperature acts through the same column. Air expands when warmed, so a pipette held in a warm hand while drawing a cold liquid, or one used in a room that differs from the temperature at which it was calibrated, delivers a slightly different volume than intended. The effect is larger at small settings, where the air column is a bigger proportion of the total.
The tip is a component of the instrument, not a consumable detail. Its geometry and the seal at the tip cone determine whether the air column really is sealed, and tips from a different manufacturer to the one used at calibration can seat differently and change delivered volume measurably. Calibration records should state the tip used.
Positive displacement pipettes avoid the air column entirely, moving a piston in direct contact with the liquid inside a disposable capillary. They cost more per sample and are far less affected by liquid properties.
Accuracy Versus Precision in Practice

The two words are used interchangeably in conversation and mean quite different things here, and a verification that reports only one is half a verification.
Accuracy, often reported as systematic error or trueness, is how far the mean delivered volume sits from the nominal setting. A pipette set to a given volume that consistently delivers slightly less has an accuracy problem. Every measurement is wrong by roughly the same amount in the same direction.
Precision, reported as random error or repeatability, is how much the delivered volume varies between repeats at the same setting. A pipette that delivers sometimes more and sometimes less, averaging out correctly, has a precision problem. The mean is right and no individual measurement can be trusted.
| Fault pattern | What the numbers show | Likely cause | Typical remedy |
|---|---|---|---|
| Poor accuracy, good precision | Consistent offset from nominal | Piston wear, seal leak, calibration shift | Service and recalibrate |
| Good accuracy, poor precision | Scattered values around correct mean | Inconsistent technique, damaged tip cone, debris | Retrain, inspect cone, clean |
| Both poor | Offset and scatter together | Neglected instrument, solvent damage | Full service or retirement |
| Both good at high volume, poor at low | Error grows as setting falls | Seal leak, air column effects | Service; use a smaller pipette |
| Drifts within a session | Values trend one direction | Thermal effects, evaporation, fatigue | Equilibrate, use a trap, rest |
The distinction matters because the two failure modes have different consequences for data. A systematic offset shifts every result in the same direction, which is invisible in internal comparisons and appears only when the work is compared against an external standard or another laboratory. Random scatter widens the variability of results, which shows up as noisy replicates and is often blamed on the assay.
Manufacturers specify maximum permissible errors for both quantities, and those limits are wider at the bottom of a pipette’s range than at the top. This is the origin of the most useful practical rule in liquid handling: never use a pipette near the bottom of its stated range if another pipette covers that volume in its upper range. The same volume measured at the top of a small pipette is substantially more reliable than the same volume measured at the bottom of a large one.
Gravimetric Verification Step by Step
Gravimetric testing works because water has a known density. Pipette water onto a balance, record the mass, and convert to volume. The conversion is not simply dividing by one, because water density varies with temperature, and because air buoyancy affects the weighing, and because the surrounding air’s pressure and humidity matter slightly. Standard practice uses a correction factor drawn from a published table for the measured temperature and pressure, which handles all of this at once.
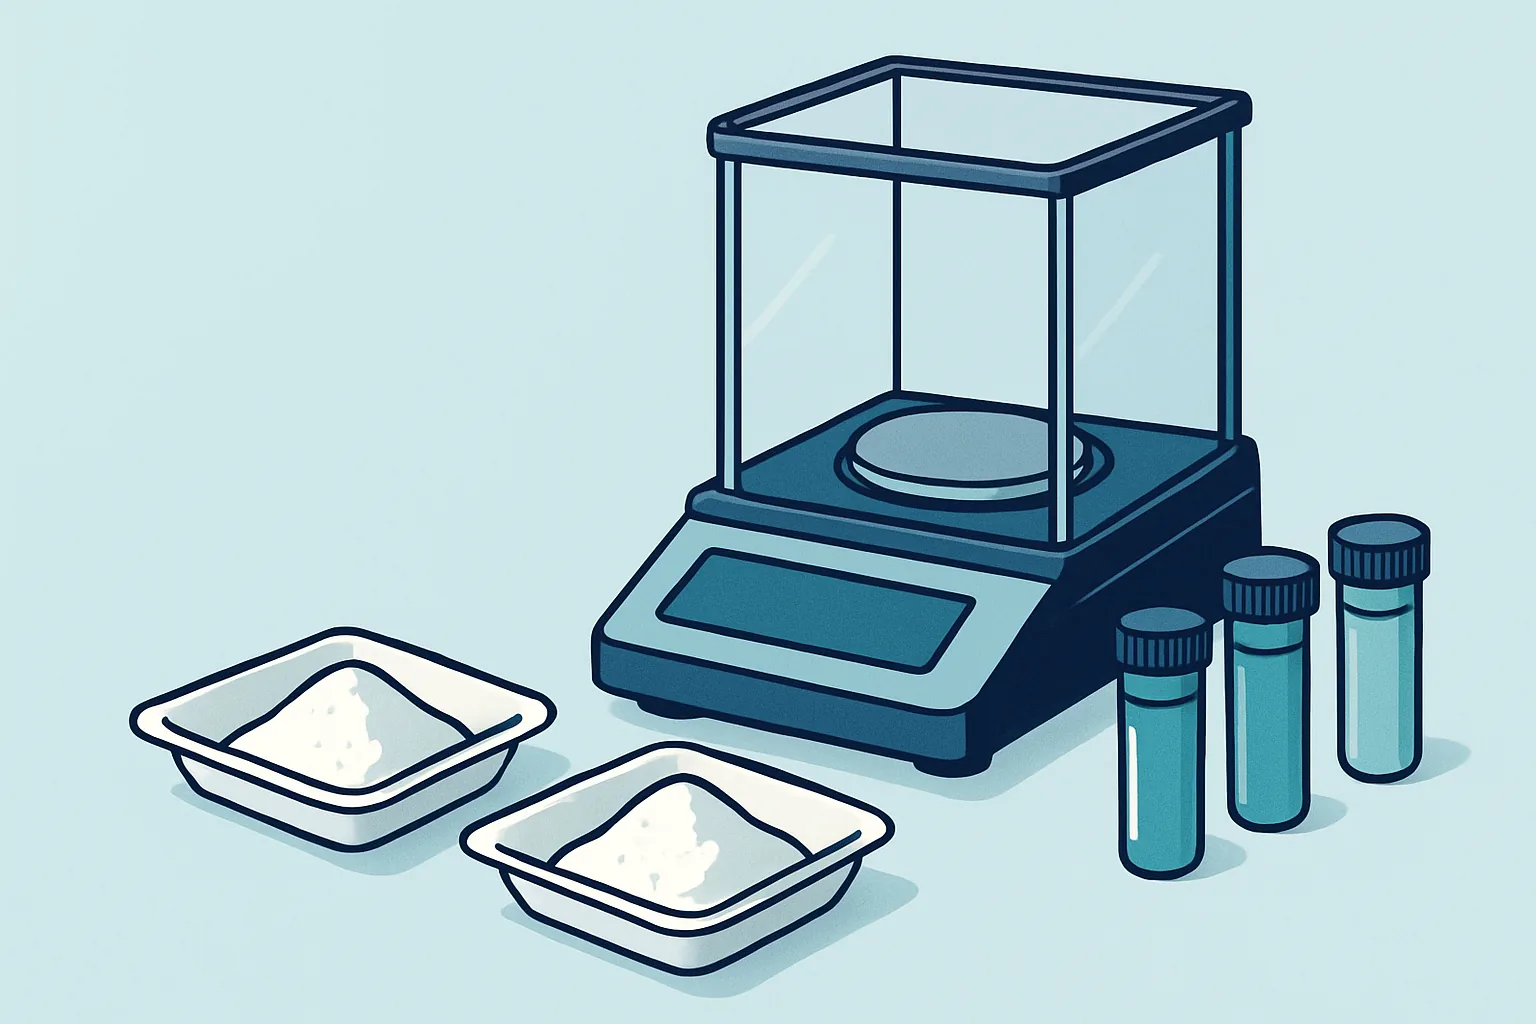
Set up first. Use distilled or deionised water and let it, the pipette, the tips and the balance equilibrate in the same room for long enough that they share a temperature. Record the room temperature, the barometric pressure and the humidity, because the correction factor depends on the first two and evaporation depends on the third. The balance must have adequate resolution for the volume being tested, which in practice means a microbalance for very small volumes and a standard analytical balance for larger ones.
Use an evaporation trap. A weighing vessel with a narrow neck, or a purpose-made trap, keeps the water surface small and the headspace humid. Without one, small volumes evaporate measurably during the weighing itself, and the results drift downwards in a way that looks exactly like a leaking seal.
The measurement sequence is straightforward. Prewet the tip by aspirating and dispensing the test liquid several times, because the first aspiration through a dry tip behaves differently from subsequent ones. Then perform a series of repeated deliveries at the chosen volume, recording the mass after each. Standard verification uses at least ten deliveries at each of three settings: nominal maximum, a middle point, and the minimum of the range. Testing only at maximum hides the errors that matter most.
Calculation follows. Convert each mass to a volume using the correction factor, take the mean to obtain the delivered volume, and compare it against the nominal setting to obtain systematic error. Calculate the standard deviation of the individual volumes, express it relative to the mean, and compare that against the manufacturer’s repeatability limit. Both must pass at all three settings for the pipette to be in tolerance.
Record the operator alongside the numbers. A verification performed by someone with unusual technique reports on that person as much as on the instrument.
Calibration Intervals and Usage Load
A uniform annual calibration cycle is administratively simple and analytically illogical, because pipettes in the same laboratory experience wildly different loads.
The variables that shorten intervals are cycle count, the liquids handled and the environment. A pipette used all day accumulates seal wear at a rate an occasional instrument never approaches. Organic solvents shorten seal life because vapour reaches the seal and attacks the lubricant, and corrosive or biological materials cause trouble when liquid is drawn too high into the shaft.
Criticality is the other axis. A pipette preparing calibration standards carries far more consequence per error than one adding wash buffer, so two identical instruments can reasonably sit on different schedules.
A defensible scheme has three tiers. High-use or high-criticality instruments are verified frequently in-house, with a full external calibration at least annually. Ordinary instruments are checked in-house at moderate intervals with external calibration annually. Low-use, low-criticality instruments can extend the external interval if in-house checks are documented and consistently passing. Regulatory and accreditation requirements override this where they apply, and some frameworks specify intervals directly.
The trigger-based checks matter as much as the schedule. Verify after any drop, after any service or seal replacement, when switching to a different tip brand, when a user reports that something feels different, and whenever assay results show unexplained shifts in a direction consistent with a volume error. That last trigger requires someone to think of it, which is exactly why documenting pipette identity against experiments is worth the effort.
Technique Errors That Mimic Miscalibration
Before condemning an instrument, rule out the operator, because the same numbers are produced by both and technique problems are considerably more common.
Aspiration speed is the most frequent. Releasing the plunger quickly causes liquid to shoot up the tip, and with low-viscosity liquids it can splash into the shaft, contaminating the seal and delivering a short volume. A smooth, controlled release is not a stylistic preference but a measurable determinant of delivered volume.
Immersion depth matters in both directions. Too shallow and the tip draws air part way through the aspiration. Too deep and liquid clings to the outside of the tip, which is then carried over and either delivered as excess or wiped off inconsistently. A consistent shallow immersion, just below the surface and tracking it down as the vessel empties, is the target.
Angle affects the hydrostatic head above the tip orifice. Aspirating vertically and dispensing at a slight angle against the vessel wall is the convention because it is reproducible, and someone who aspirates at a marked tilt will consistently deliver differently.
Prewetting is routinely skipped and routinely matters. The first aspiration into a dry tip loses a small amount of liquid as vapour equilibrates with the air column and as the plastic surface wets. That first delivery is short. Prewetting three times before the first real delivery removes the effect, and it is the single most valuable habit for small volumes.
Timing finishes the list. Pausing after aspiration lets the air column equilibrate, and doing it sometimes but not always introduces scatter. Dispensing to the first stop, waiting briefly, then going to the second stop is the standard forward technique, and rushing that second stop leaves liquid behind. Fatigue degrades all of this late in a long session.
Viscous and Volatile Liquid Handling
Air displacement pipettes are calibrated with water, and water is a convenient liquid. Two categories of sample behave badly and require adjustment.
Viscous liquids, including glycerol solutions, concentrated sugar syrups and some detergents, move slowly. Aspirating at normal speed draws the piston back faster than the liquid can follow, so the tip fills incompletely. Dispensing leaves a substantial film on the tip wall. Both errors run in the same direction and can be large. The mitigations are to aspirate and dispense very slowly, to pause after aspiration to let the liquid catch up, and to use reverse pipetting, in which the plunger is depressed past the first stop before aspiration and returned only to the first stop when dispensing, so the residual film comes from a deliberately aspirated excess rather than from the measured volume. Positive displacement pipettes handle these liquids properly and are the correct answer where accuracy matters.
Volatile liquids create the opposite problem. Solvents with high vapour pressure saturate the air column with vapour, which increases the pressure inside and pushes liquid back out of the tip. The result is a dripping tip and a delivered volume that is too low and irreproducible. Prewetting the tip repeatedly saturates the air column before the measuring aspiration and helps considerably, but for serious solvent work positive displacement is again the reliable route.
The general principle covers dense liquids, foaming surfactant solutions and anything well away from ambient temperature too: a liquid whose density, viscosity or vapour pressure differs substantially from water will not deliver at the calibrated volume. Where it matters, characterise the deviation gravimetrically with the actual liquid, and consider calibrating that pipette against it.
Building a Simple Verification Routine
The barrier to routine verification is not difficulty but the perception that it requires a metrology programme. It does not.
Start with a quick daily or weekly check for critical instruments: one volume at the top of the range, a few repeated deliveries onto a balance, mean compared against nominal, result logged. It takes minutes and catches gross failures before they reach an experiment.
Add a fuller quarterly check for those instruments: three volumes across the range, ten deliveries each, both systematic and random error calculated against the manufacturer’s limits, with temperature and pressure recorded. This is the check that detects gradual drift, which is the failure mode that does real damage.
Keep annual external calibration by an accredited provider for anything whose results leave the laboratory. It brings traceability to national standards, which internal checks do not, and includes the service and seal replacement that keeps the instrument healthy.
Make the records findable. A label on each pipette showing its identifier and next due date, plus a single log anyone can consult, turns calibration into something the laboratory can act on. When an assay drifts, the first useful question is when the pipettes involved were last verified.
Finally, treat a failed check as information rather than an inconvenience. A pipette that has drifted has been drifting for some time, and the honest response includes asking what work it touched. That is uncomfortable, which is why the checks need to be frequent enough that the answer is short.
Frequently asked questions
How can I tell whether the pipette or my technique is at fault?
Have a second person run the same verification on the same instrument with the same tips. If both operators produce similar systematic errors, the instrument is the likeliest explanation. If the errors differ substantially between operators, technique is contributing, and the pattern usually points to which habit is responsible: consistent under-delivery suggests missed prewetting or fast aspiration, while scatter suggests inconsistent immersion depth or timing. Testing a known good pipette with the same operator completes the picture.
Does a pipette need recalibrating after autoclaving?
Yes, and this is a common oversight. Autoclaving subjects the seals, O-ring and lubricant to heat and moisture, and repeated cycles accelerate wear noticeably. Only pipettes specified as fully autoclavable should be treated this way at all, and even those should be allowed to dry and equilibrate fully before use and verified afterwards. Where sterility is the concern, filter tips and surface decontamination usually meet the requirement without the thermal cost.
Is an electronic pipette more accurate than a manual one?
Not inherently more accurate, but usually more precise in practice, because it removes the operator variables of aspiration speed, dispensing speed and plunger travel consistency. That advantage grows with the length of the session, since a motor does not fatigue. Electronic pipettes still drift, still need the same gravimetric verification, and add battery and firmware considerations. They are worth the cost where repetitive, high-volume work makes technique variation the dominant error.
Can I calibrate a pipette myself rather than sending it away?
Verification and adjustment are different activities. Verifying gravimetrically in-house is straightforward and every laboratory should do it. Adjusting the instrument, which usually means altering an internal setting so the delivered volume matches the display, is also possible on most models with the manufacturer’s tool, but doing so without traceable reference conditions produces an instrument that agrees with your balance rather than with a standard. The pragmatic split is in-house verification frequently, external adjustment and traceable calibration annually.
What if a pipette passes at its maximum volume but fails at its minimum?
That pattern strongly suggests a seal leak or air column problem, because a fixed leak represents a much larger proportion of a small aspirated volume than of a large one. Service the instrument and retest. In the meantime, the practical mitigation is to stop using it at the bottom of its range and to select a smaller pipette for those volumes, which is good practice regardless of whether the instrument is healthy.
A balance, a bottle of water, a trap and a logbook are enough to close the gap, and the routine costs less time in a quarter than one repeated experiment. Drift caught on a balance is a maintenance job; drift caught in the data is a much longer conversation.